24 HOURS & EMERGENCIES
07301 611 578

Back to Blog
How to Install a USB Outlet: A Step-by-Step Guide to Enhancing Your Home's Connectivity
Advice
23rd April 2024

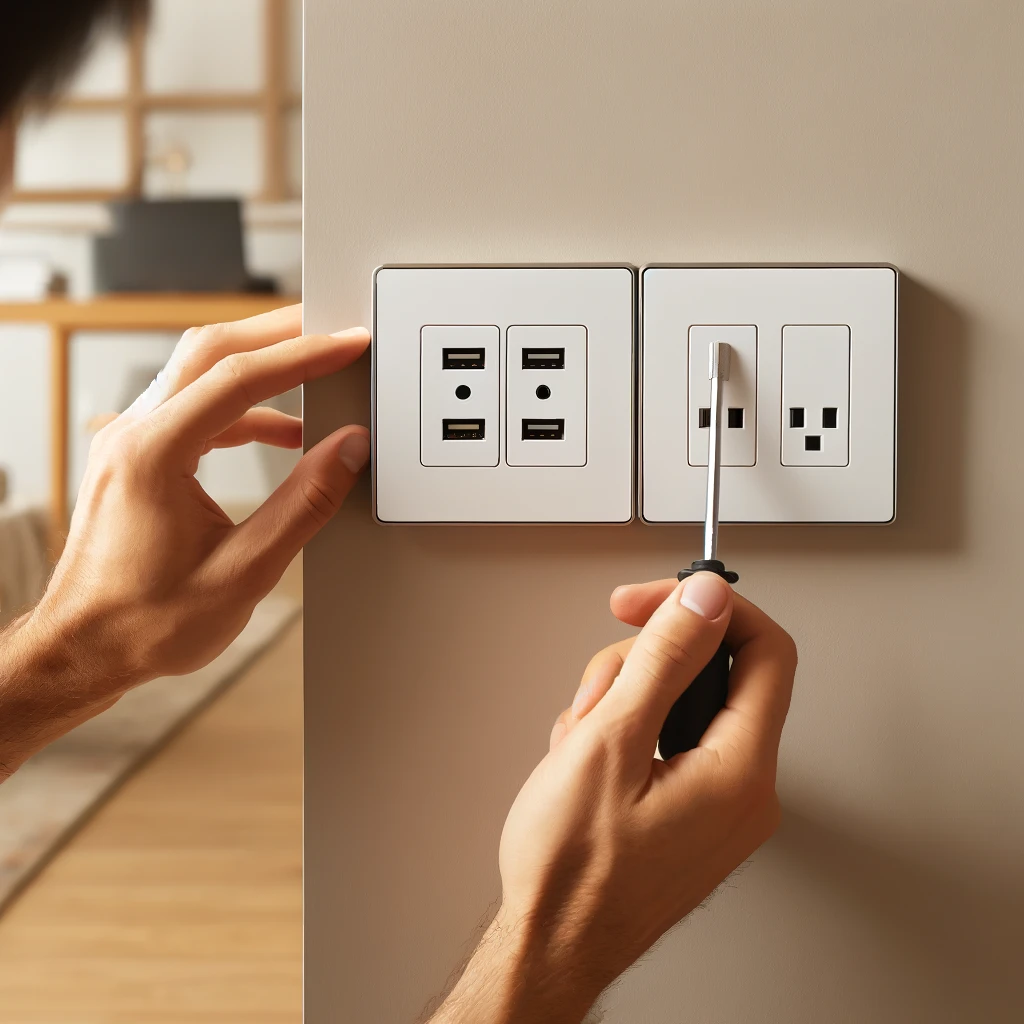
As technology continues to advance, the need for more accessible and versatile charging options has become evident in every home. Installing a USB outlet is a fantastic way to modernise your living space, providing a convenient charging point for phones, tablets, and other devices. This guide will walk you through the process of replacing a standard electrical outlet with a USB-equipped outlet, ensuring you can handle the installation confidently and safely.
Why Upgrade to a USB Outlet?
USB outlets are designed to accommodate today's digital lifestyle directly, eliminating the need for bulky adapters by integrating USB ports alongside traditional three-prong outlets. This not only clears up space but also increases the charging capabilities of your home. Whether you're renovating your home or simply enhancing functionality, adding a USB outlet is a practical update.
Tools and Materials Needed
USB outlet
Screwdriver
Voltage tester
Wire strippers
Wire nuts (if needed)
Electrical tape
Safety First: Preparing for Installation
Before beginning any work on your electrical system, safety must be your top priority:
Turn Off the Power: Ensure all power is off at the circuit breaker or fuse box to avoid any risk of electrocution.
Test the Outlet: Before starting the installation, use a voltage tester on the existing outlet to confirm that there is no power flowing to it.
Detailed Steps to Install a USB Outlet
Here’s a detailed walkthrough to replace a standard outlet with a USB outlet:
Remove the Existing Outlet:
Remove the faceplate by unscrewing it from the wall.
Unscrew the outlet from the electrical box and gently pull it out with the wires still attached.
Disconnect the Wires:
Note the configuration of the wires. Typically, you’ll see a black (hot), white (neutral), and a green or bare copper (ground) wire.
Disconnect the wires from the screws on the old outlet.
Prepare the USB Outlet:
If your new USB outlet has a back-wire feature, you may need to use wire strippers to prepare the ends of your wires.
Connect the wires to the corresponding terminals on the USB outlet (black to black, white to white, and green or bare to ground).
Secure the USB Outlet:
Carefully push the outlet back into the electrical box, making sure the wires are neatly folded and not pinched.
Screw the outlet into the box, then attach the new faceplate.
Restore Power and Test the Outlet:
Turn the power back on at your circuit breaker or fuse box.
Use the voltage tester or plug in a device to test the functionality of the USB ports and the outlet.
Additional Tips and Considerations
Choosing the Right USB Outlet: There are various USB outlets available, including ones with Type-A ports, Type-C ports, or a combination of both. Choose one that best fits your devices’ needs.
Checking Compatibility: Ensure that the USB outlet is compatible with your home’s wiring and fits into the existing electrical box. Some USB outlets are larger than standard outlets.
Understanding Wiring Differences: If your home has older wiring, it may be wise to consult with a professional electrician, especially if you are unsure about the wiring or your home's electrical capacity.
Conclusion
Upgrading to a USB outlet is a simple yet effective way to enhance the functionality of your home. By following these steps, you can safely install a USB outlet, ensuring that your devices are always charged and ready to go. Remember, while DIY projects like this can be rewarding, never hesitate to call a professional if the project becomes more complex than anticipated. Safety should always come first in any home improvement project.
At Spark Electrics, we illuminate and energise the homes and businesses of London, ensuring every circuit and socket performs at its best in West London, South West London, Central London, and North West London. Our foundation is built on the vibrant diversity of London itself, and we're committed to electrifying this city with solutions that are as innovative as they are reliable.
Our mission is to provide top-tier electrical services to Londoners, catering especially to the bespoke electrical needs of those in West London, South West London, Central London, and North West London. Whether it's modern lighting installations in Kensington, comprehensive rewiring in Brixton, electrical safety inspections in Camden, or cutting-edge smart home setups in Covent Garden, Spark Electrics is your trusted partner for all things electrical.
Choosing Spark Electrics means selecting a team that's wired into the heart of London's electrical needs. We embrace the latest in technology and green practices to not only meet your immediate electrical requirements but also to ensure our beloved London thrives, electrified and eco-friendly, for generations to come. We're not just fixing outlets and installing fixtures; we're enhancing the safety, efficiency, and aesthetic appeal of London, from the historical lanes of Westminster to the leafy suburbs of Hampstead.
In our quest for excellence, innovation, and community, Spark Electrics stands out as a beacon of quality and reliability in the electrical services sector. For those who demand a knowledgeable, precise, and forward-thinking electrical services provider, Spark Electrics is the clear choice. Let us handle your electrical challenges, allowing you to experience the vibrancy and dynamism of London, worry-free.
Read More
Explore more articles on the world of Electrics!
2024 Ⓒ Spark Electrics